Why should you go beyond auto mode?
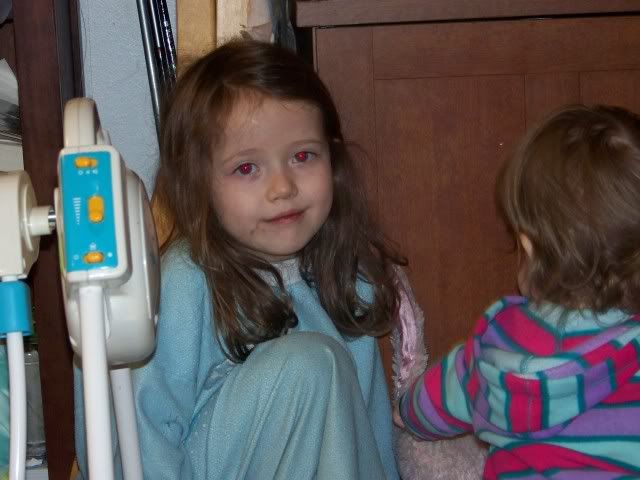 | 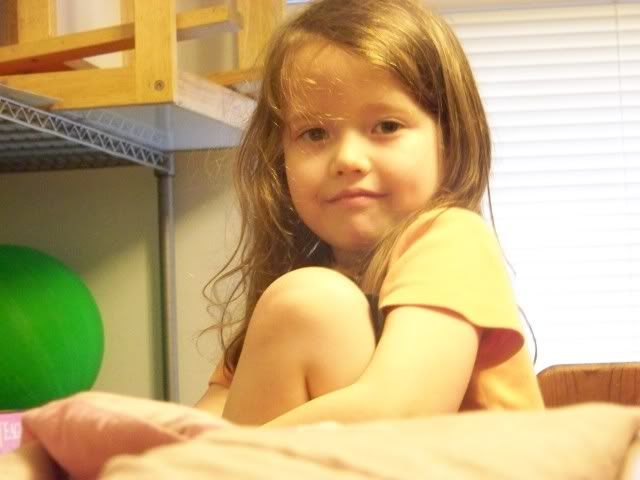 |
Avoid red-eye.
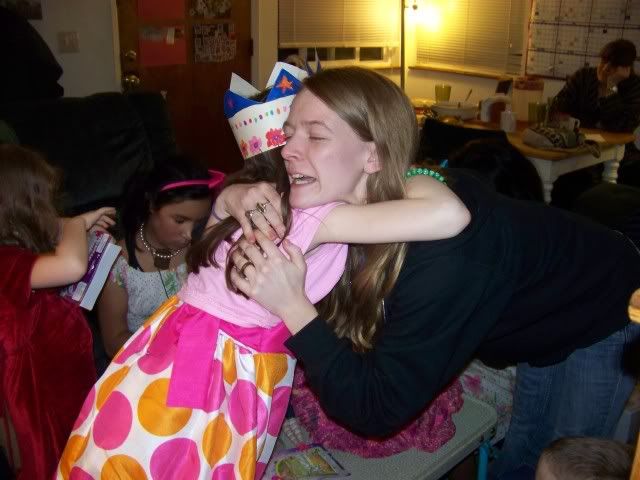 | 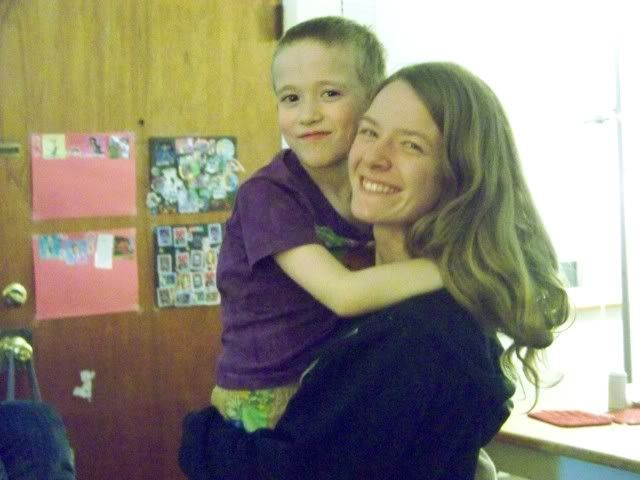 |
Get more natural coloring.
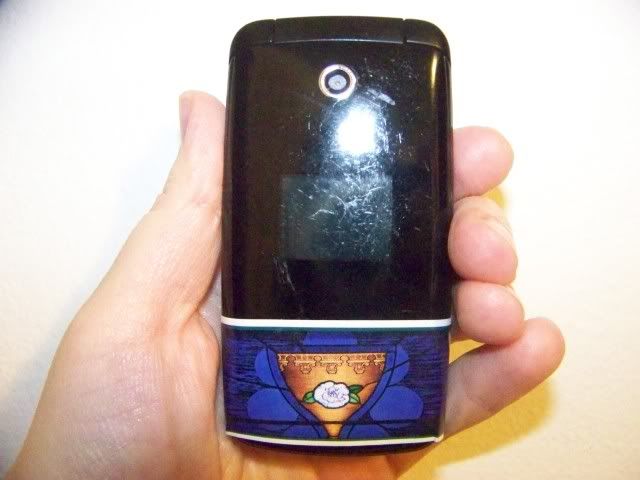 | 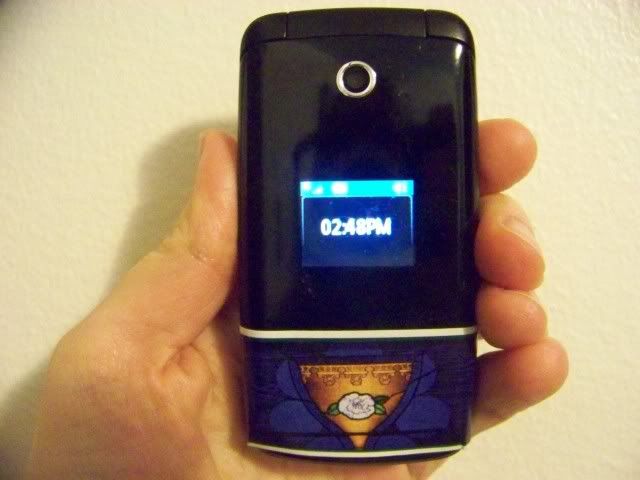 |
Avoid shiny reflections messing with your photos.
(No equivalent) |
Take cool time-delay photos.
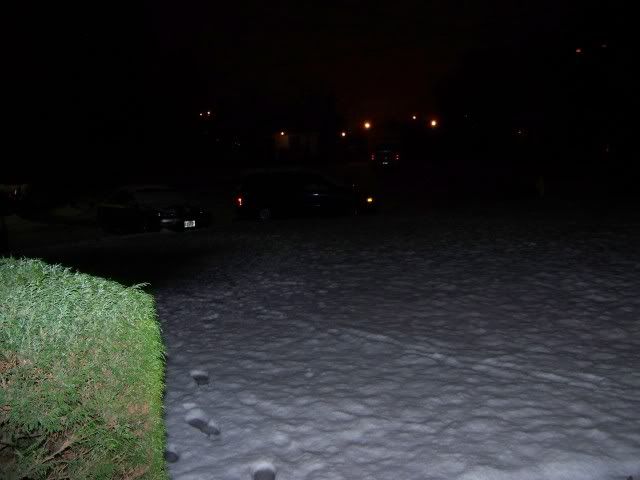 | 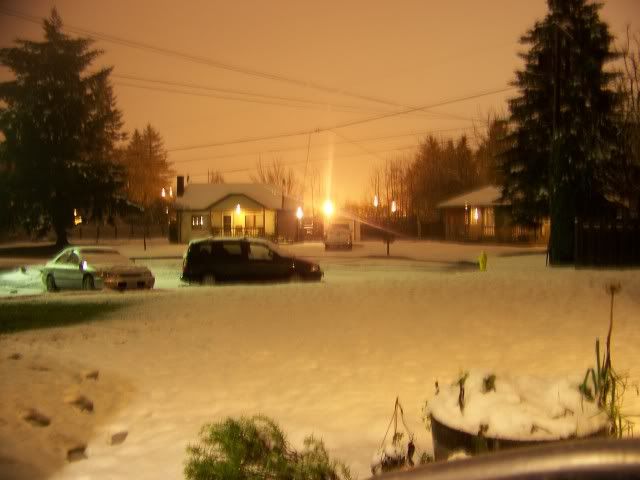 |
Take photos in situations that auto mode just can't handle.
Part 2.
How To Use Manual Mode
A) Know the Three Basic Settings You Can Change In Manual Mode.
Aperture determines the range over which objects show up in focus. These numbers have an "f" in front of them, like f3.2 or f22. Use low f-stops (like f3.2) for close-ups, but for landscapes, use high f-stops1. For this purpose, "close-up" basically means everything in the same room as you, unless you're in a giant hotel party room or something. If you were at a football game and wanted both the guy right next to you and the player 50 feet away to be in focus, you would use as high of an f-stop as you could. To get a blurred background, you set the f-stop low.
Shutter Speed determines how long your shutter stays open for. These numbers usually show up as a fraction of a second, like 1/8 or 1/1000. My camera will go as high as 16 seconds2. You want fast speeds to take a sharp, clear photo of a moving object, aka a wriggly child. You want a slow shutter speed (1/8 is slow, whole seconds are very slow) to take one of those "long exposure" shots or if you're in a really low-light situation, like the snow at night. The slower your speed is, the more important it is that the camera be held still, or else everything ends up blurred. I find that right around 1/30 to 1/20, I reach the limit of my hands to hold still. Anything slower than that, and I have to find a stable surface to set the camera on. (Like, say, a tripod. Oh that's right, I don't own one. A number of my photos would be better quality if I did.)
ISO is just about light. A higher ISO will make a brighter picture; if there's lots of light in the surroundings, it may be too bright. And if your ISO is too high, there is a risk of making the picture grainy, although I only ran into this problem once or twice during the 30 Day Photo Challenge.
B) Have An Order to Set Them In.
It helps a lot to have a default order that you set those three settings in. Different people use different orders, and that's fine. Here's mine:
1. ISO. I set this first. 1600 for in my dim apartment, because that's as high as the ISO goes on my camera. 200 for outside on a cloudy day in the Pacific Northwest during winter. I'll probably use 64 for a bright summer day.
2. Aperture. Since I'm usually taking indoor shots of the kids, I tend to leave this on the lowest setting it will go, which is usually f2.8, but sometimes f3.2 or f3.6 if I've zoomed in. If I go outside and want to take a picture of something farther away than, say, the length of a room, I will ratchet this up to f8.0 (which is as high as my camera goes).
3. Shutter Speed. Now, since I have wriggly kids, ideally I would set this to 1/125 or lower/faster. However, since I also have a not-very-well-lit apartment and limited ISO, those settings can be relied on to give me some very dark pictures. At this step, I use this amazing thing called a light meter3, which gives me a number ranging from maybe -7 to +7, to tell me how much light is hitting the camera right then. The idea is to aim for the light to be as close to 0 as you can get it4. So this step consists of me aiming the camera, and then setting the shutter speed as low as I can get it without making the light meter drop below the general vicinity of 0 to -1. This usually puts my shutter speeds at about 1/40 to 1/30, which means I have to get the kids to hold still, or else they may blur.
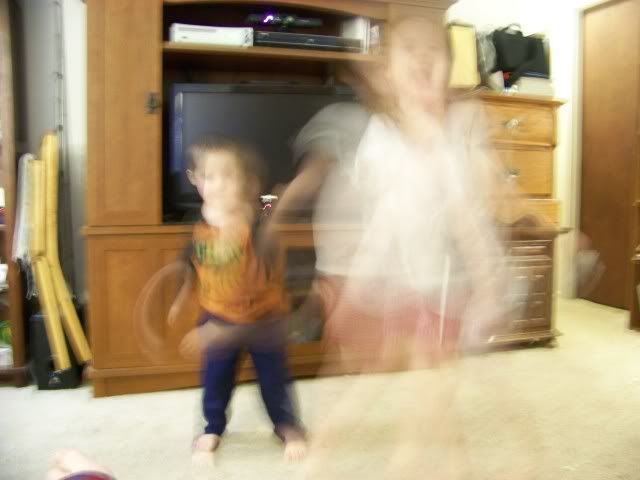 |
| There's a ghost in the room. |
C) More Random Advice.
- Take lots of experimental photos to get a feel for your camera.
- It's ok to pose your subject material to get a better photo. Having something worth taking a photo of matters as much as, if not more than, how well you take the photo.
- "Scene" modes can be a very useful middle step between full-auto and full-manual mode. The snow-at-night photo above was taken in "night landscape" mode, because it was way too cold for me to take the time to fiddle around with the manual settings.
*For more reading on how I came to figure out enough to write this post, check out the 30 Day Photo Challenge that I did with my daughter.
1. A lower f-stop number actually means a larger aperture which means a smaller field of focus, in case you want the confusing version of how low numbers = close-ups.
2. Which is displayed as 16".
3. It's not something you buy separately. It's a feature on the camera. If your camera has manual mode, I'm guessing it also has a light meter somewhere. Mine just displays the number (which flickers as I point the camera around different spots); some cameras may display the light meter as a number bar with a marker that moves along it?
4. Some photographers find that they have a preference for lighter or darker photos, and will aim for the light meter to read whatever their preference is. You can experiment to find your tastes. If you're a beginner, just start with aiming for 0.

No comments:
Post a Comment